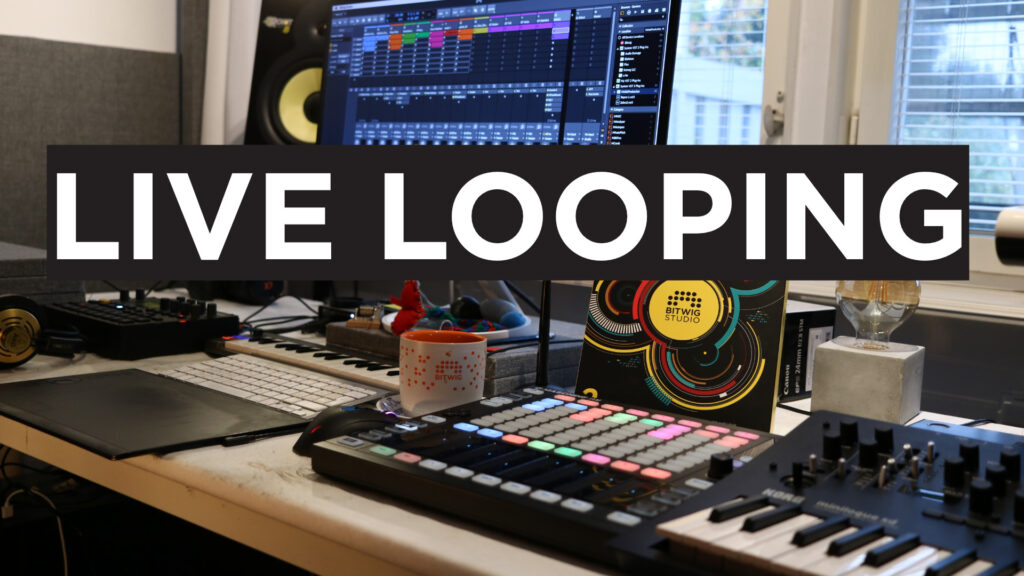
Live Looping is a common approach to songwriting for many musicians and composers. It’s a quick way to sketch up a track on-the-fly. But it does require preparation and a pre-production process. In this article and video we will explore a live looping software Bitwig Studio in detail.
Live Looping in Bitwig Studio
Bitwig Studio is a modern DAW with a strong focus on electronic music production. With version 3 we even got a brand new modular environment in the Grid plugins. You can check out my previous articles on exploring the Grid in Bitwig here.
Join the BITWIG STUDIO Masterclass and learn the Bitwig DAW, inside out, today!
Setup the Clip Launcher for live looping
To prepare Bitwig for live looping we first go into the “Play-menu” and look up the settings for the clip launcher. See image below.
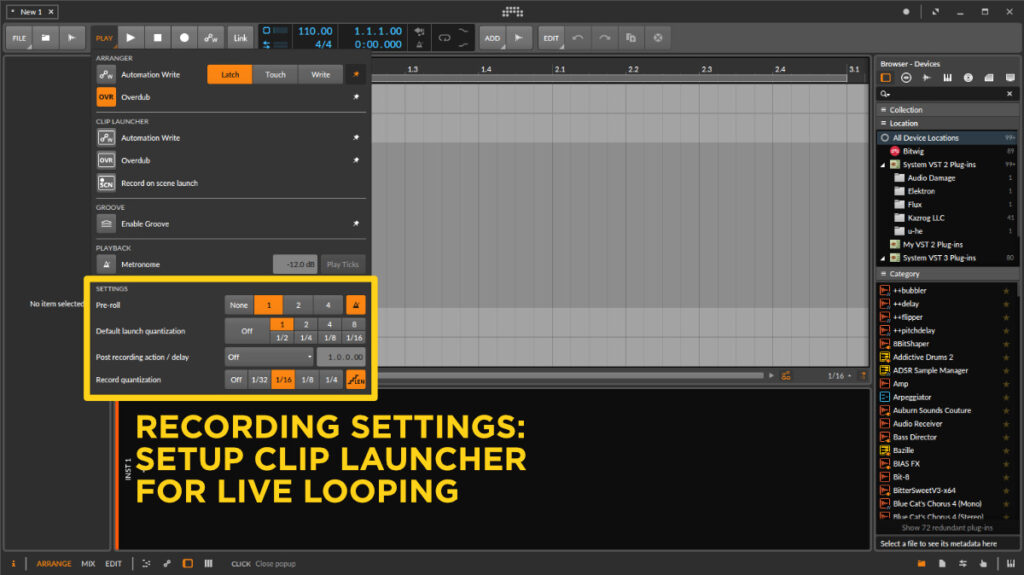
The important setting to setup the live looper functionality is to look at the “Post Recording Action / Delay” setting. This is the action which will be activated when the clip has finished recording.
In this example we want to record a small 8 bar loop. After the recording we want the clip to continue and keep playing (looping). Therefore we select the “Play Recorded” option. Furthermore, we need to set the period (time before this action will occur) to 8 bars.
Pre-roll Metronome
It’s good practise to have some pre roll count-in before you start recording and also have the metronome active. At least for the first loop you record so that you can hear yourself play in time.
I tend to let the metronome run while I record some hi-hats / drums then I just mute the metronome.
Record Quantization
If you are recording midi clips with the clip launcher a bit of “record quantization” can be good so you don’t end up with sloppy takes. Set it to 16th notes quantize and continue. You can always go back and change these settings at a later time.
Now Bitwig Studio is setup for live looping!
Live Looping – Recording in the Clip Launcher
Now go back to the clip launcher view in Bitwig Studio.
Create a new track and add a virtual instrument of choice.
Now press one of the empty clips on the track to start recording. You will get a 1 bar (four beat) pre-roll and then the recording will start. After you have played the 8 bars the clip will be completed. Furthermore, the clip will continue to loop as selected in the settings previously.
While the clip loops you can select another track and activate clip record on an empty clip. Repeat the process and continue your “live looping” session.
How about overdubbing clips?
The only current downside I’ve found with live looping in Bitwig Studio is that it does not support overdub. When a clip has finished recording it’s complete and you can’t continue to add notes on top of the clip. Well, of course you can go in and manually add / remove midi notes. But it’s not possible to overdub like you can do on a hardware unit, like the Boss RC-505 Loop Station or the BOSS RC-3.
That said there are workarounds for this. Just add a second track (duplicate) with the same instrument and do your additional recording (a new midi clip) to that track instead.
Clip Launcher programming
The clip launcher in Bitwig can be programmed in many ways. You can have clips playing at random, and jumping to different clips. Your imagination is the limit.
If you want to learn more about the clip launcher you can watch my Bitwig Basics Episode 03 video.
That’s the basic setup for live looping in Bitwig Studio.
What gear I use in the studio? Check out the Resources Page.
Join my exclusive community: https://www.patreon.com/gelhein
Be sure to sign up to our newsletter for new exciting articles in design, music production and sound design.
