In this article we will look at how to tune a piano with best practise tips and tricks!
It might seem intimidating and an impossible task to tune the upright piano. But with the right tools and a smart-phone / iPad, it’s actually not that hard. It just takes a little bit of time. 😉
Piano tuning checklist
- Watch my piano tuning video here. This will give you an understanding of the process.
- Get the proper piano tuning equipment.
- Install a tuning app on your smartphone / tablet.
- Disassemble the piano panels to get access to the piano tuning screws.
- Learn how to tune the low, mid and high register on the piano. Yes, they have different amount of strings.
Piano tuning video tutorial DIY
It’s totally worth it though! Because nothing beats a well tuned upright piano…right!?
I don’t pretend to be a piano tuning expert, but this is how I tune the piano. It’s quick and it works every time!
We are not gonna get mathematical, there are plenty of other videos explaining the equally tempered tuning. Instead, we are going to focus on just tuning the piano. Which I think is much more important than understanding the math behind.
How to tune the piano yourself
Ok, let’s talk about how you can tune the piano all by yourself!
THE PIANO TUNING TOOLS
First you need to grab the right piano tuning tools.
You will need:
- A piano tuning hammer – Available at Thomann, click for more info.
- Tuning Felt / Red felt strap – Available at Thomann, click for more info.
- iPad / Smartphone (iPad is preferred because of the big display)
- PanoTuner (free tuning app available on iOS and Android)
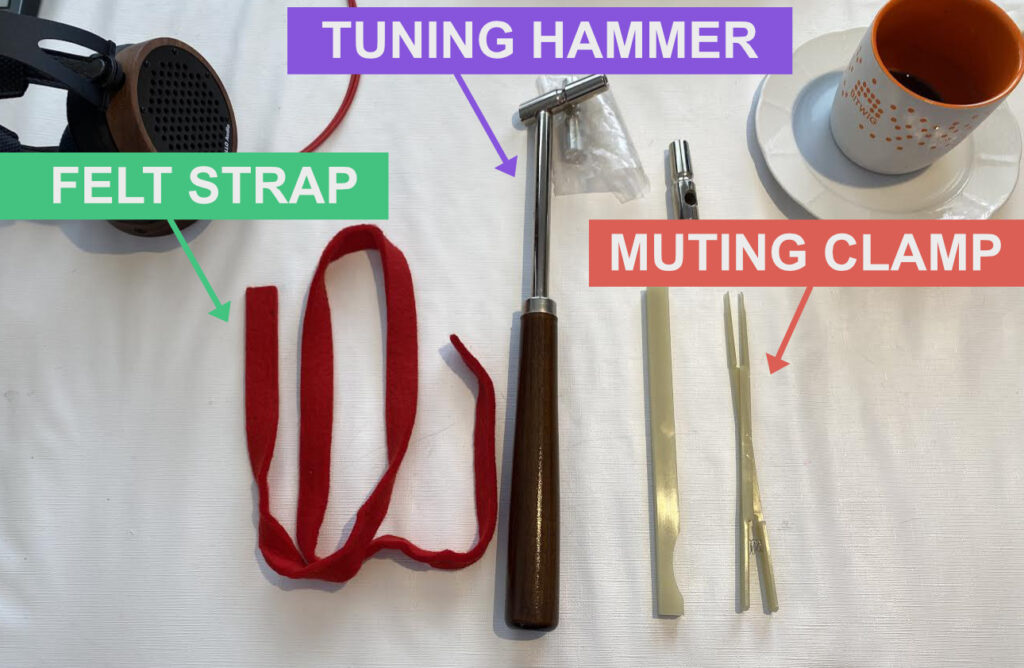
Complete Piano Tuning Kit from Amazon
You can also buy a complete piano tuning kit from Amazon which includes extra tuning tools. Like the Universal 8″ Nylon Piano Tuning Mute Clamp, extra hammer heads (torques) etc.
I use a Blue Baby Bottle SL to record my piano. It’s an excellent mid-budget microphone.
Why do I need piano tuning tools?
In order to speed up your tuning workflow, and importantly, NOT destroy your piano, you need to have a basic set of piano tuning tools.
Let’s talk about why you need these specific piano tuning tools.
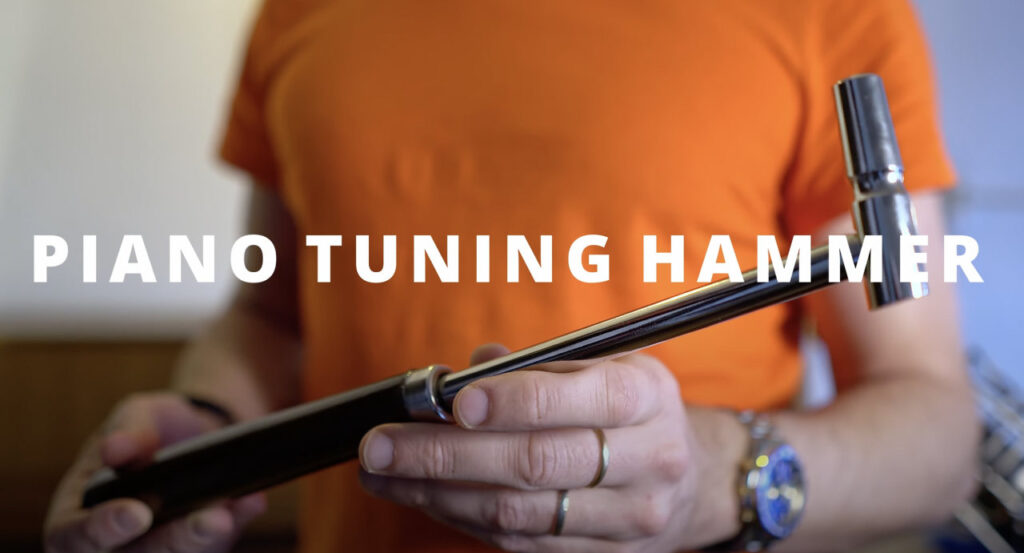
The piano tuning hammer?
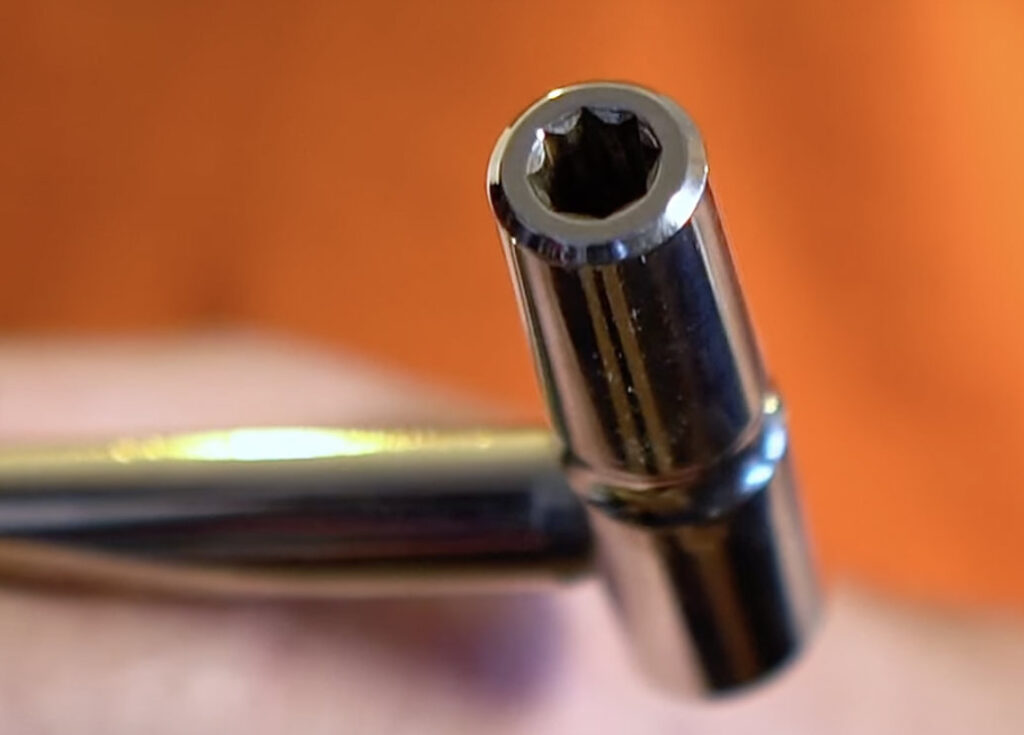
You need the piano tuning hammer because it has a specific torque suitable for the piano tuning points (screws).
The long handle and heavy weight of the tuning hammer will help you get a good momentum and adjust the string tension with ease.
Tuning felt strap
The piano tuning felt strap is used to mute certain strings. You will notice that the low keys on a piano has a single string, while keys higher up the piano range will have three strings. With the tuning felt we can easily mute two of the strings and focus on tuning one single string at a time. This makes the tuning so much easier.

Piano tuning application / software
A good piano tuning app will help us fine tune to a specific pitch. With PanoTuner we can see note pitch and also pitch displayed in hertz. I always tune the piano to concert pitch, which means 440hz. That’s the pitch which most electronic instruments are tuned in. We want to make sure we can play in tune with our band….or your favourite Spotify playlist. 😉
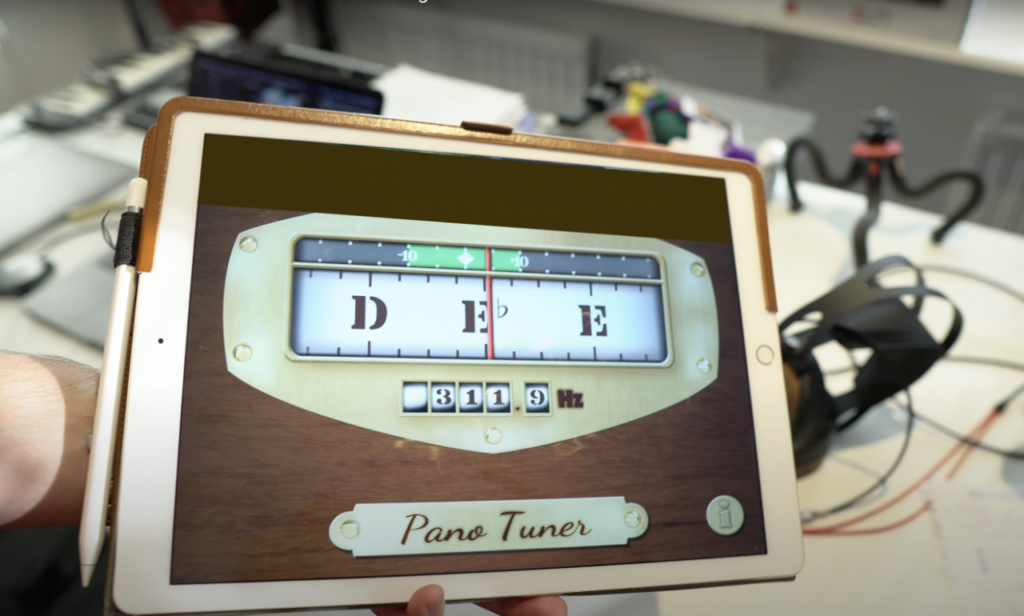
TUNING THE PIANO
First we disassemble the front panel of the piano so we get access to the strings and tuning points.
At the low key range we have a single string per key. And at the higher range we have up to three strings per key.
To save you some time I will not show every single key, but the most important steps in the tuning process.
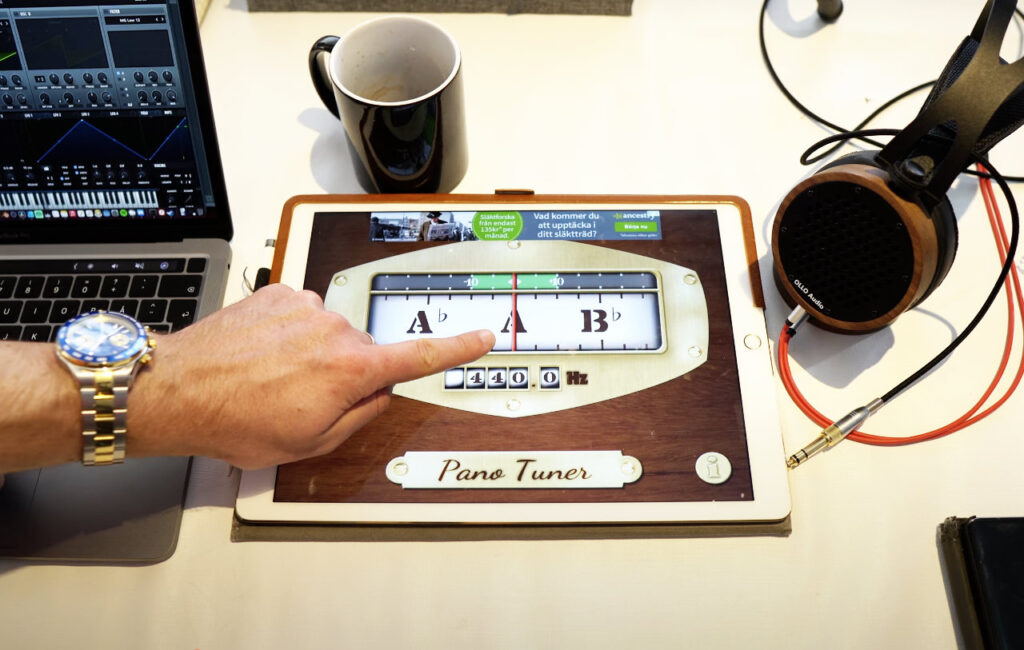
Concert Pitch A4 = 440hz
By default the Pano Tuner app is set to tune according to concert pitch. Which means that A4 on the Piano will be tuned to 440hz. The piano notes will be tuned according to the equally tempered tuning system, which is the most common system.
An equal temperament is a musical temperament or tuning system, which approximates just intervals by dividing an octave (or other interval) into equal steps. But as I mentioned earlier, you don’t have to know the math to tune your piano.
TUNING THE LOWER PIANO REGISTER
Tuning the lower keys is much easier than tuning the higher register. We only have one string to tune for each key.
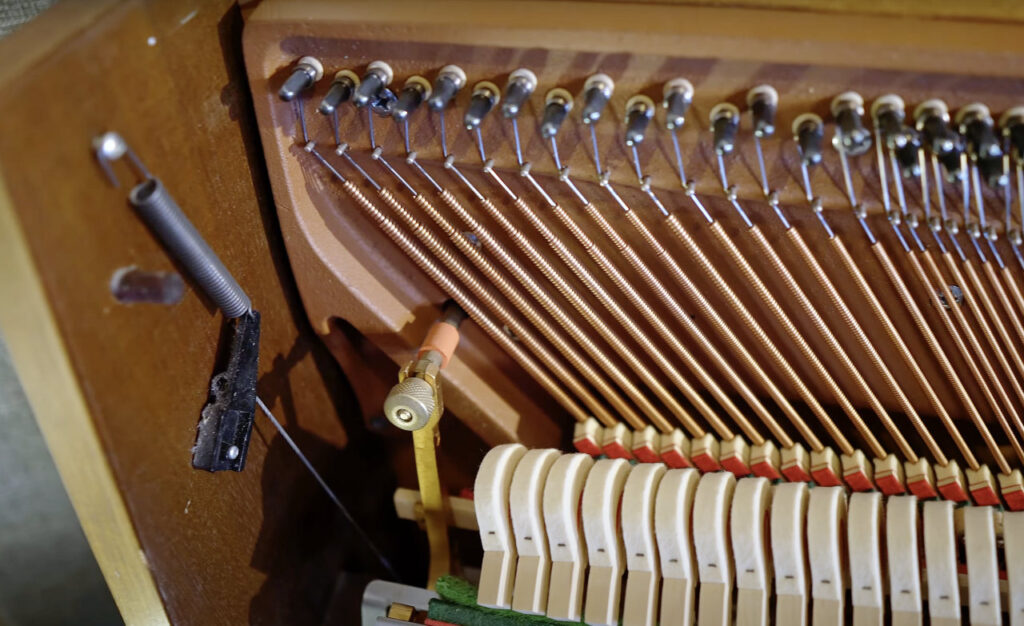
Start up PanoTuner app. We will begin tuning C1 so play the key and see what pitch we get on the tuner.
Now attach the tuning hammer to the tuning point.
You find the tuning point (screw) by following the piano hammer when you press down a key and pay attention what string the hammer hits.
Let’s evaluate the current pitch of the piano key
99 % of the time the pitch on an old piano will have fallen flat. This means the pitch is lower than the target pitch.
If the pitch is flat, turn (or wiggle) the tuning hammer slowly clockwise to apply more strain. This will result in rising the pitch.
If you get too high you need to wiggle back a bit. It can take a little bit of fiddling before we get a fine tuned pitch.
With this string in tune we can progress to the nearby keys and tune them to the correct pitch. One at a time.
TUNING THE HIGHER PIANO REGISTER
The higher register has more strings per key. So it requires some extra steps in the tuning process for each key.
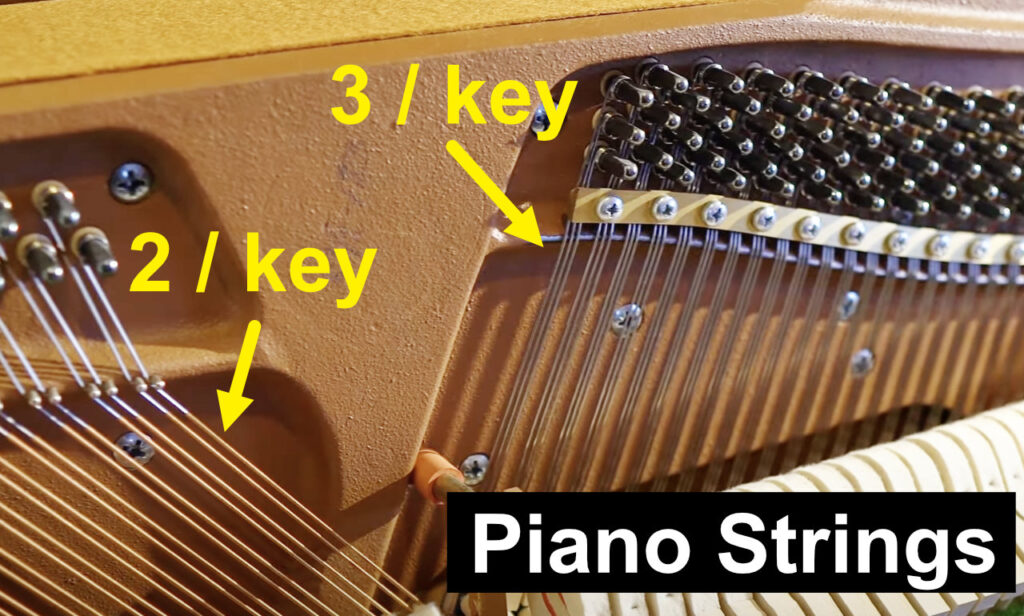
Let’s tune middle C, which is C4. Not the explosives. 😉
Where does the middle C hammer hit? Those are our target strings to tune for this specific key. Tuning three strings is not much harder than tuning a single string. Let’s just break down the tuning into three steps!
Tuning piano string 1/3
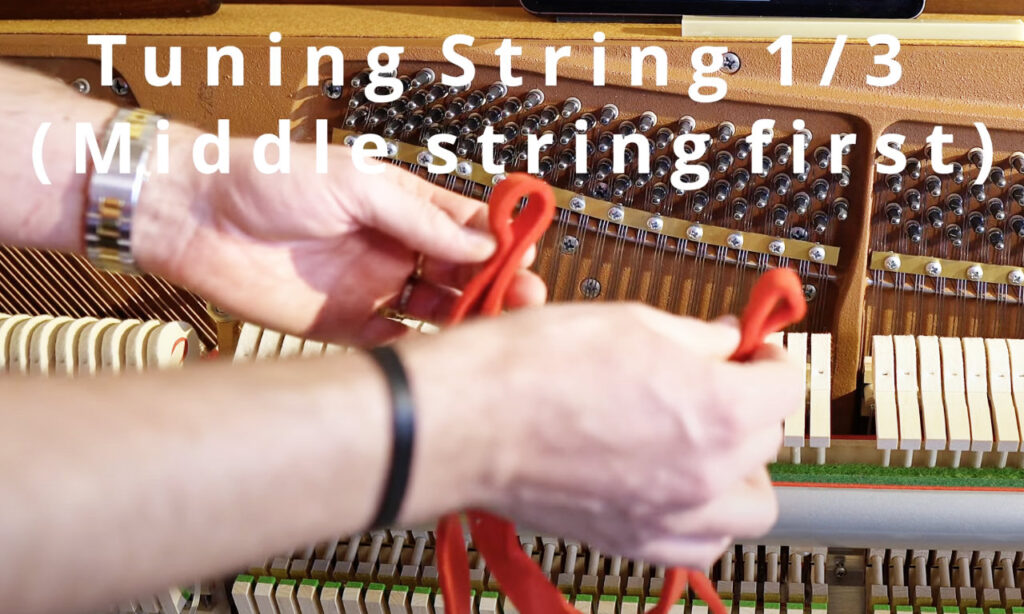
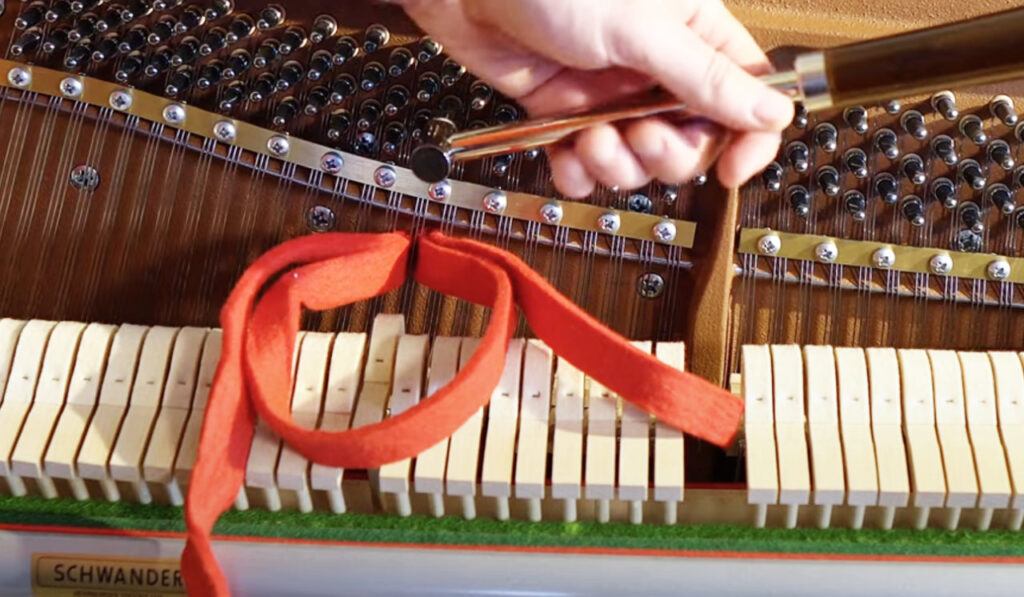
Attach the tuning felt to mute the strings to the left and right of your middle string.
If we play the key we will only hear that single string resonate on it’s own.
Again, it’s a little bit flat so let’s apply some pressure with the tuning hammer.
Turn / wiggle clockwise slightly. If we get too far, just turn it counter clockwise.
Tuning piano string 2/3
With our middle string in tune release one part of the felt strap to the left. Just drag the leftmost part of the strap.
Now play the key and listen for the vibrations between the strings. If the strings are in tune the vibration will be inaudible. If the vibration is fast the strings are too far apart. This means you need to adjust the string left string.
Our left string will probably be low / flat compared to the middle string. So attach the tuning hammer and wiggle clockwise to apply some strain. Again, listen for the vibrations. When the vibrations disappear we have reached the target pitch.
Don’t forget to look at the piano tuner, it helps to see where the tuning is going.
With both string one and two in tune we can release the last part of the tuning felt and tune the final (third) string to the first two.
Tuning piano string 3/3
Attach the hammer to the third (and final) string for this key.
Play the key and again listen for the vibrations.
Tune the hammer clockwise until the vibrations disappear or are as slow as possible. That’s when all strings are in tune.
DONE
Now continue tuning the strings upwards the piano.
Another piano tuning tip
In certain places the piano tuning felt strap may be hard to fit and attach, then I use a finger to mute one of the strings when tuning.
So, that’s basically how to tune a piano by yourself! If you have any questions, leave them in the “How to tune the piano” video comments. Thanks for reading / watching!
