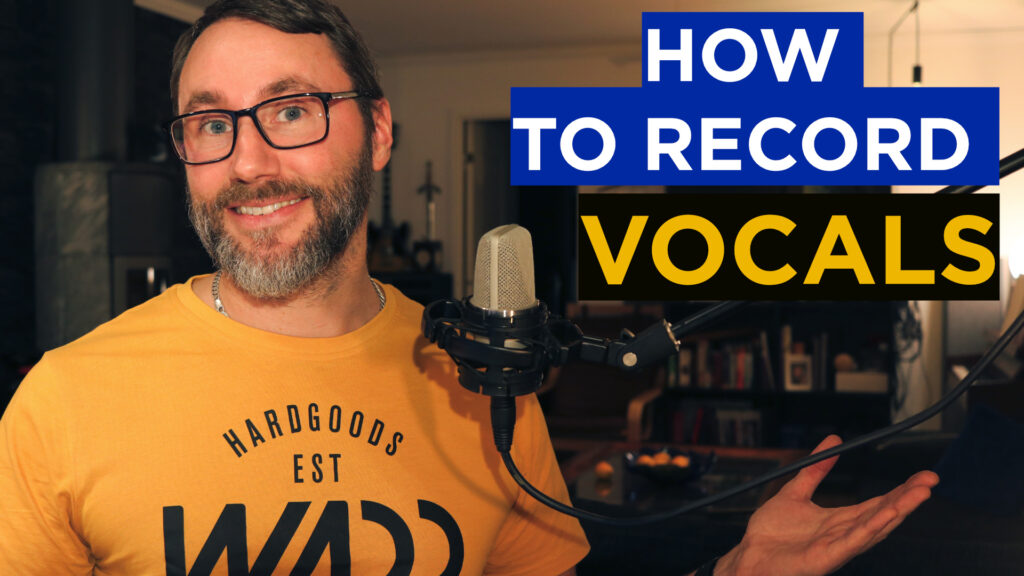
In this new video we talk about the complete audio recording chain and how to properly set up your DAW.
How to properly record vocals into the DAW
I know the struggle to get the vocals to sit just right in a music mix!
Many producers reach out to me and ask about some tips and tricks to record vocals. If you follow these tips you can instantly improve the vocal recording and save you headache at the mixing stage.
Selecting the proper microphone for your voice
There are as many voices as there are people in the world. Seriously we all have a certain sound and with the right microphone you can carefully capture the essence of the voice.
Some mics will work against your voice. While another microphone can help to bring out the vocal character. I suggest you try out a few microphones. Borrow some microphones from a friend, or from the local music store if it’s possible.
Microphone types
Condenser microphones
When I record vocals in the studio I typically go for a large-diaphragm condenser microphone. Something like the Neumann TLM 102. It’s a mid-budget mic (around €700) with a broad sound range. There are several reasons why I think the TLM 102 is such a great mic for vocals (and many other instruments).
The Neumann TLM 102 is capable of tolerating SPLs up to 144dB!
Neumann TLM 102
Firstly the TLM 102 has a very tight grill which incorporates a built in pop screen which reduces poppings from plosives. For my voice it’s a perfect match, but some singers might still need a regular pop-screen to get rid of the plosives.
While some condenser microphones tend to be very sensitive to SPL (Sound Pressure Level). The Neumann TLM 102 is capable of tolerating SPLs up to 144dB (0.5 percent distortion). That makes the TLM102 also suitable for use with loud instruments such as drums, brass instruments and guitar amplifiers!
The TLM 102 condenser microphone requires +48 V phantom power to operate.
The frequency range of the TLM102 extends from 20Hz to 20kHz (‑3dB) and is nominally flat up to 6kHz. After 6kHz you start to hear a gentle presence rise in the higher frequency range. It’s an overall good starting point for a great sound.
Dynamic microphones
Another great microphone for vocals is the Shure SM58. It’s a professional cardoid dynamic microphone. If you ever done a live gig you have probably used this microphone on stage. It’s probably the most common microphone for live vocals.
Shure SM58
Compared to the condenser microphones the Shure SM58 dynamic microphone is less sensitive to SPL. Thus it makes the Shure SM58 a great mic for recording percussion, drums and guitar amplifiers too.
I still recommend this microphone for voice over and lead vocal recording in the studio. Especially if you are working in a noisy environment.
Like all directional microphones, the SM58 is subject to proximity effect, a low-frequency boost when used close to the source. The cardioid response reduces pickup from the side and rear prevents feedback onstage. There are wired (with and without on/off switch) and wireless versions of this microphone.
Cloudlifter CL-1 Mic Activator is an easy to use, compact solution for common audio problems faced in the field and in the studio. Designed for all passive microphones – including ribbons- the CL-1 safely uses any standard phantom powered microphone input device to provide up to +25db of ultra- clean, transparent gain.
Boost the gain of a dynamic microphone
If the signal is a bit weak from your dynamic microphone you can introduce the Cloudlifter.
Cloudlifters dramatically improve the performance of passive microphone signals by driving stronger, cleaner signals over longer XLR cable runs, making them ideal for broadcast, live, and studio applications.
Microphone Techniques
There are several microphone techniques you can use to get the best out of a vocal performance.
Microphone Distance
The distance to the mic is very important when recording any instrument, including the human voice. As you get closer to the microphone you also get more bass frequency content, ie. proximity effect. I recommend a distance of about 20cm / 7 inches between the microphone pickup and the mouth.
If you are recording a very quiet voice a closer distance might work better. And some artists even get up really close because they prefer the upfront sound.
When recording too close to the microphone it’s impossible to remove that low-end in the mix-stage without loosing the natural voice character.
My advice is always to fix the sound at recording stage, rather than trying to solve a bad recording in the post-processing stage.
While backing off the microphone from the singer you will also notice that you will pickup more of the room ambience. So it can be a good advice to experiment with larger distance when recording backing vocals, ad-libs etc.
In conclusion, and after experimenting for many years I believe that a 15-20 cm distance is optimal for lead vocals. The vocal tracks will sound natural and require less post-processing.
Vocal pre-amps
While a vocal pre-amp might not always be necessary, it can tremendously help your vocal signal. Today, many audio interfaces comes with built in pre-amp / gain stage with enough juice to give your microphone signal life.
How much amplification you need really depends on your microphone and on the singer. Dynamic microphones tend to need more gain boost than the large-capsule condenser microphones.
Pre-amp compressor
Sometimes you might need a pre-amp to boost the signal to a proper level. The vocal pre-amp can also include additional sweet features, like a compressor and gate. The pre-amp might also include a tube amplifier stage. A tube can give your sound some sweet saturation and character.
Balancing the tracking signal
A compressor can also be helpful if you want to have a balanced signal already at the tracking stage. Keep in mind though that this compressor effect is not possible to change later.
Vocal compression settings
I love to have a small amount of compression with a ratio of 2/1 or 3/1 at tracking stage for vocals. Just to give the vocals a little bit of dynamic glue.
Set the attack to about 10-25ms and about 50ms release. Furthermore, we adjust the threshold to get about 2-3db of gain reduction from the compressor. Finally, add 3db of make-up gain.
This will give our vocal audio recording a smooth compression at the recording stage.
If you are recording voice over for You Tube videos a gate, compressor and some tube amplification in the audio pre-amp can really be a time-saver at the tracking stage.
What gear I use in the studio? Check out the Resources Page.
Join my exclusive community: https://www.patreon.com/gelhein
Be sure to sign up to our newsletter for new exciting articles in design, music production and sound design.
